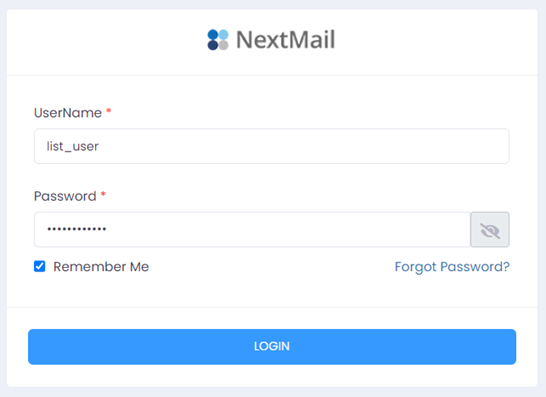
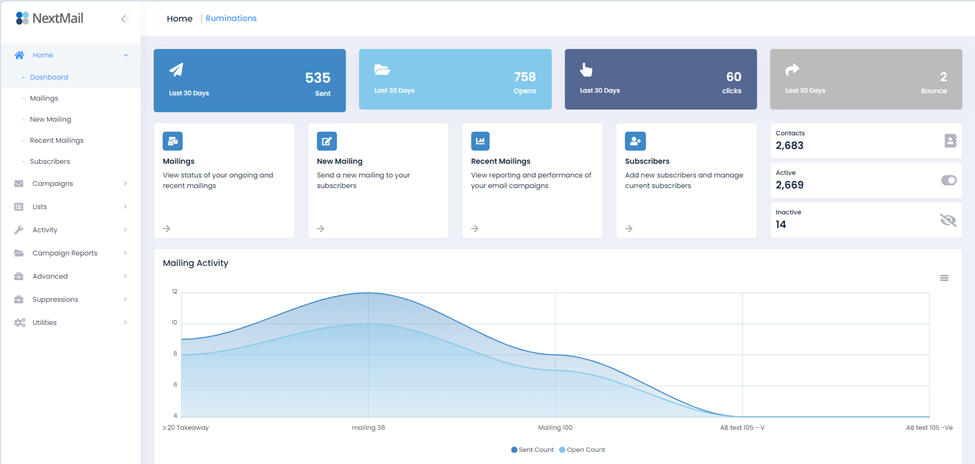
NextMail Easy Start GuideNextMail is a user-friendly, intuitive and powerful application to help you create and send email marketing campaigns. This Easy Start Guide is designed to quickly help you learn how to use the program. Index 1) Logging into Your AccountLogging into your NextMail account is easy. Simply click (or copy and paste) the link below to be directed to the login screen. Enter the user name and password provided to you in the welcome email sent from NextMail support. If you are using a personal or dedicated computer, clicking the “remember me” checkbox will make accessing your account even easier. https://nm01.netatlantic.com/Nextmail/pages/login.aspx 2) HomeThe Home screen with dashboard is the first screen you will see after your login credentials have been accepted. This is the hub of your account. On this screen, you will have a quick view of the following:
NextMail Home Screen 3) Adding Subscribers Manually to Your ListYou can add your subscribers to your list manually, or by list import. Adding subscribers manually can be useful if you have a smaller number of new subscribers to your mailing list. To do so, navigate to “Lists” under the Lists dropdown menu in the NextMail navigation panel. From there, select the mailing list you would like to add a contact to and click “View”. 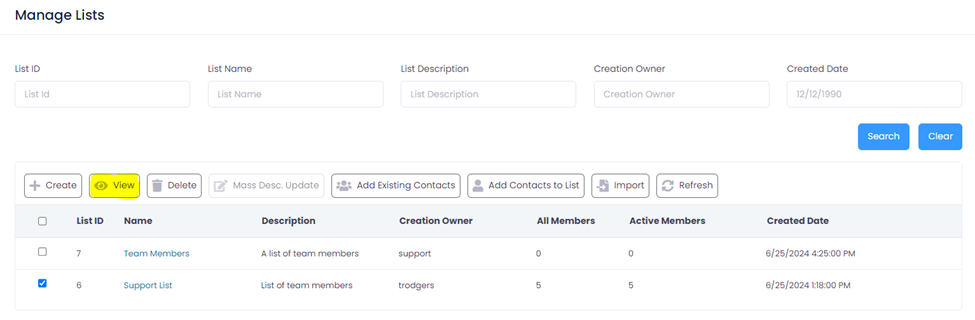 This will bring you to the “List Details” screen, where you can view, search, export, remove, and add subscribers. You will also see past and processing imports to your mailing list. To add a contact, click the “Add Contacts” button. 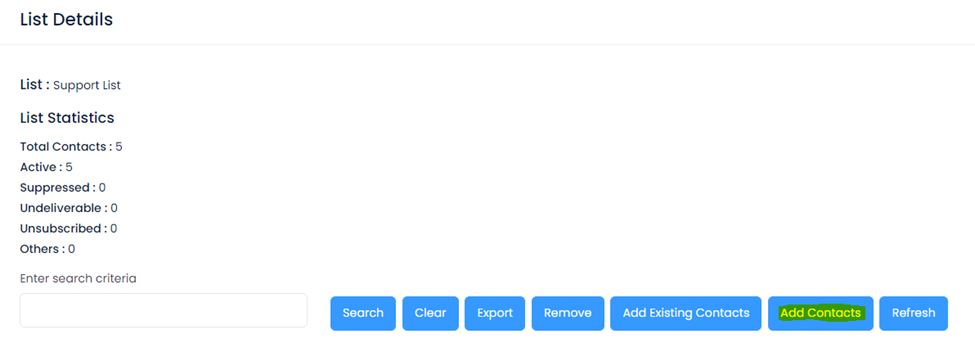 NextMail List Details Window You are then able to add a subscribers First Name, Last Name, and their email address. Clicking “Save & Add More” will allow you to add a contact and immediately add an additional contact. Clicking “Save & Exit” will save the entered contact and exit the “Add Contact” window. 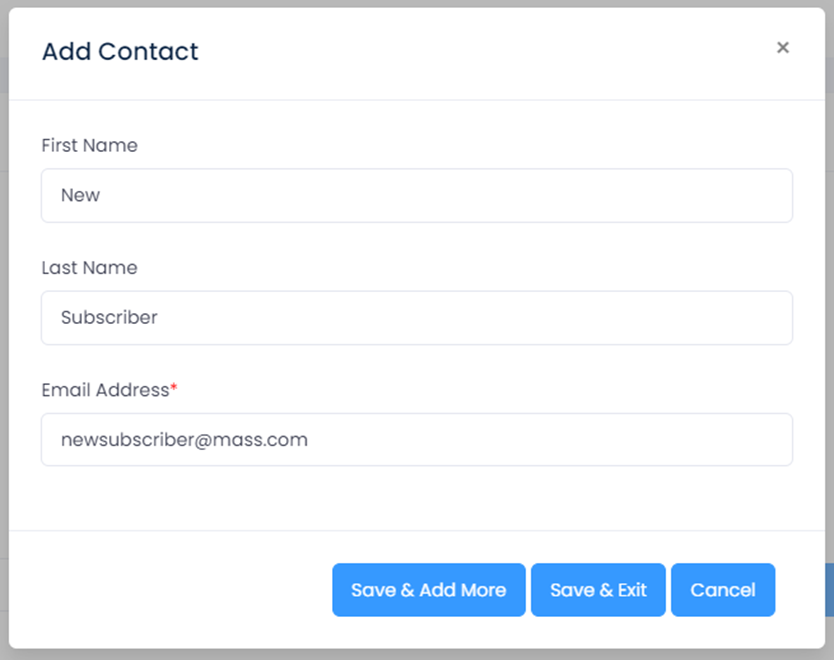 NextMail Add Contact Window 4) Uploading Your List Using the Import FunctionThe following steps will show how to upload a list of subscribers into NextMail. In the navigation panel on left, click on “Lists” and click “Import”. Once the Manage Import screen has loaded, click “Create New List” (assuming you do not have a list already on the system). 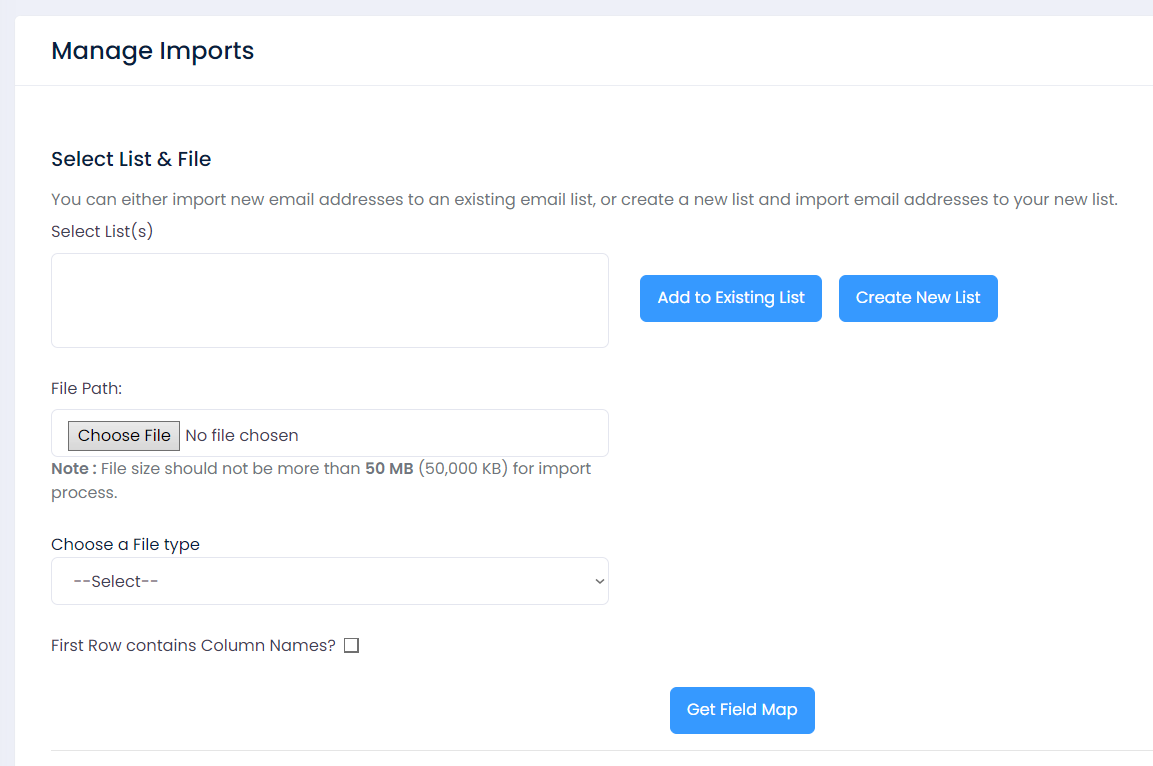 NextMail Manage Imports Screen In the Add List window, enter the name of the list you are creating, and click save. 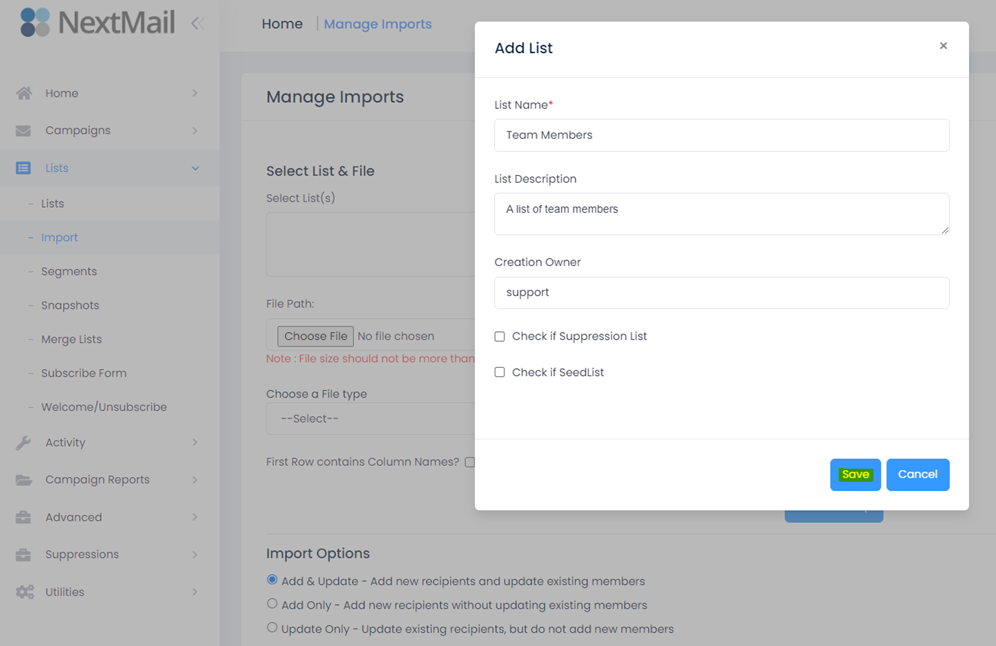 NextMail Add List Screen  You are ready to look up the list you have created. Click:  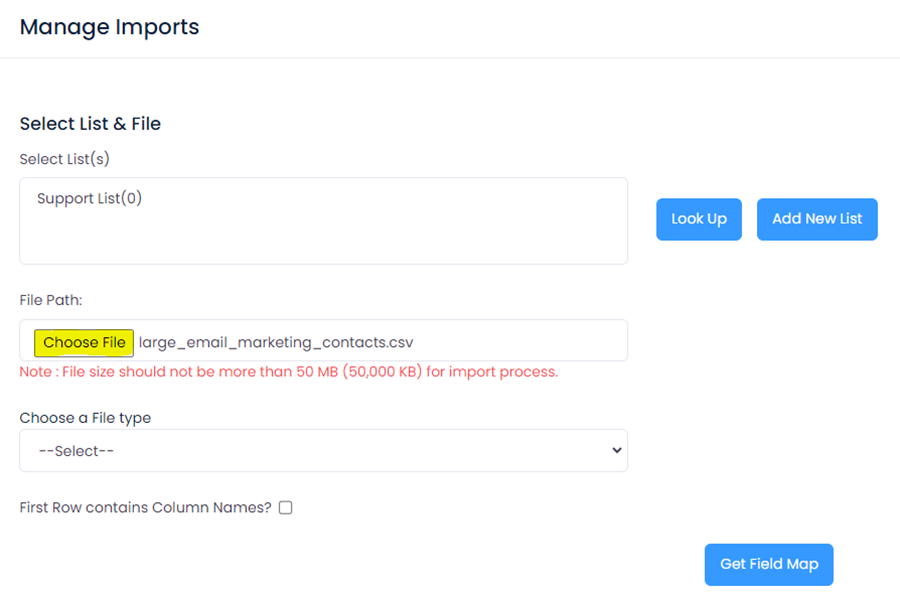 NextMail Select Lists Window Uploading Your Subscriber List
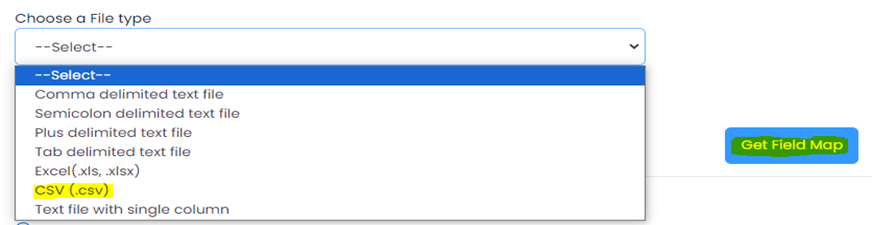
Once you have chosen your file, select the file type from the “Choose a File Type” dropdown menu. In this example, the file type will be in CSV format. Once you have selected your file type, check the “First Row contains Column Names?” checkbox if applicable, then click the “Get Field Map” button. 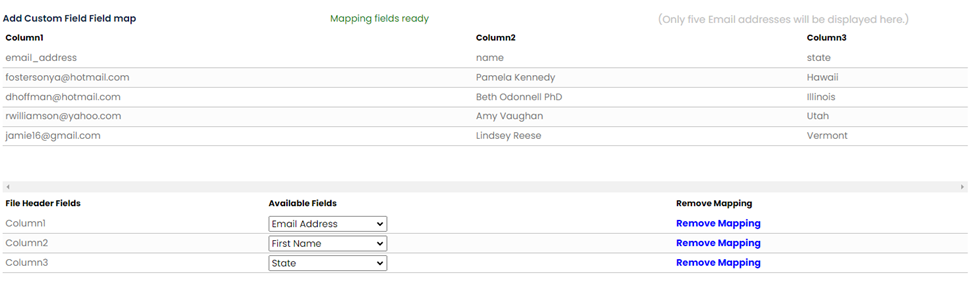 After you have selected the “Get Field Map” button, choose the appropriate column name for the data. In this case, Column1 has been selected as “email address”, Column2 has been selected as “First Name”, and Column 3 has been selected as “State”. NextMail Field Mapping Screen Next, you are able to decide your Import Options:
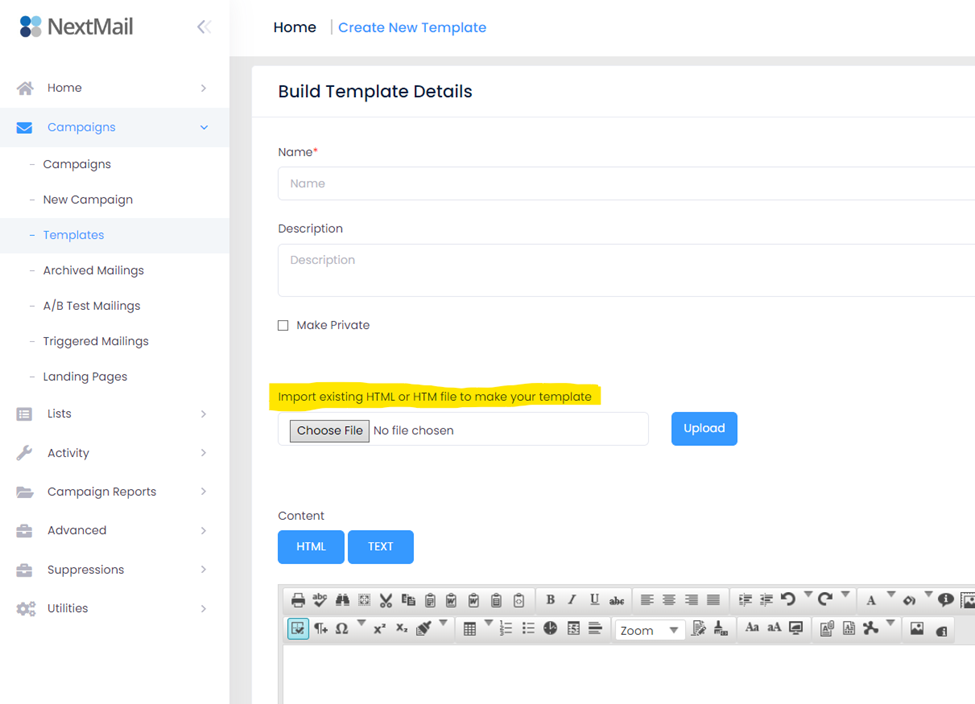
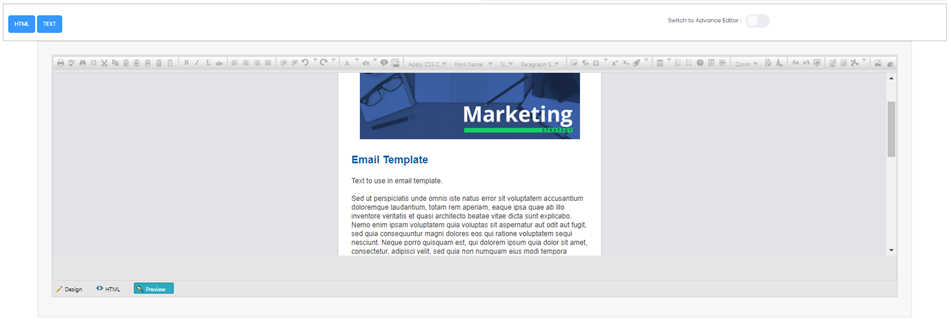
You will also have the option to send a notification email after importing contacts to the list, which verifies the contacts have been imported successfully. 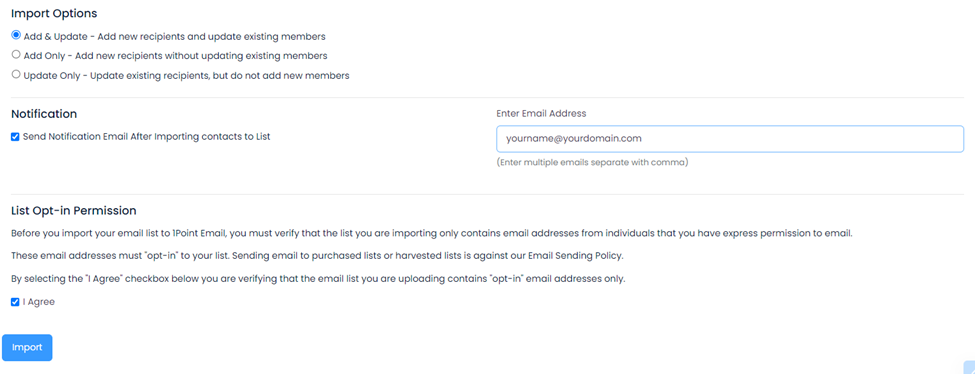 NextMail Import Options, Notification, and List Opt-In Screen 5) Creating Content and TemplatesNextMail offers several different ways to create attractive relevant content to connect with your reader. A) Use a Template to Create Content (either sample template, or created, or imported) B) Use the Design Editor C) Use the Drag and Drop Editor D) Import Content from a File (such as a web page or document) E) Paste in HTML Code Created Elsewhere (for advanced users) A. Use A Template to Create ContentNextMail has a powerful template feature that makes it easy to create, use, and reuse templates. Also, there are sample templates installed in your account that can be used. 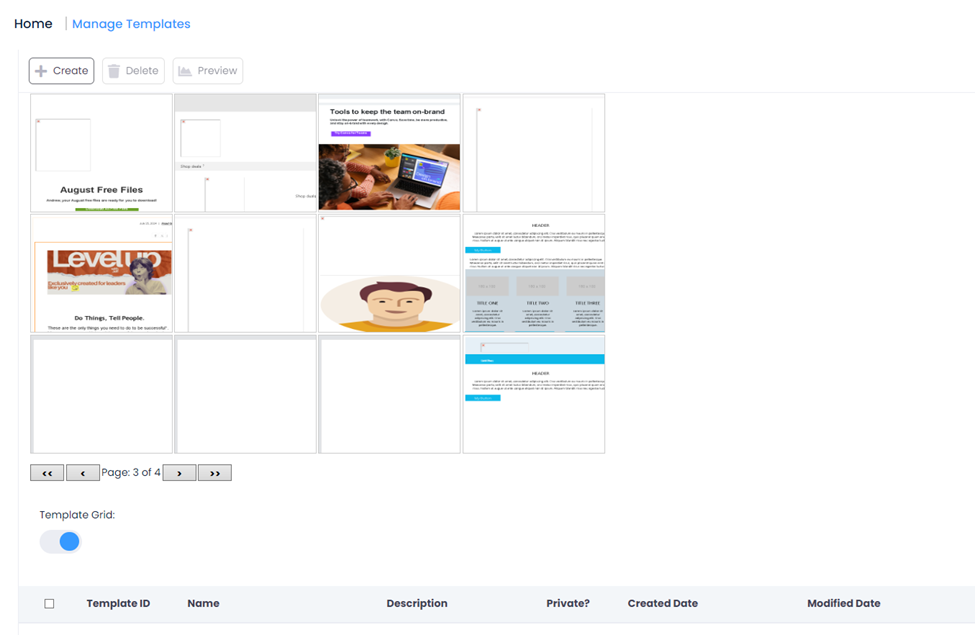 Manage Templates Window You can create templates using the Design Editor or the Drag and Drop Editor. Templates can be used and reused many times. Oftentimes marketers will design a template with their logo and branding, and then simply reuse the template and just change the headlines, content and calls to action with each subsequent mailing. This way the branding and theme of an organization remains constant over time and is effectively reinforced to your subscribers. B. Use the Design EditorThe Design Editor in NextMail allows the user to create content in design mode. This is similar to laying out a document in Microsoft Word or similar type of program. There are some great shortcuts available in the Design Editor to create your content very quickly. One way is to go to any web page, blog post, or document, type Control A (to select all), Control C (to copy), then go into the Design Editor and Control V (paste). Your web page, blog page, or document will be recreated exactly the way it was previously. 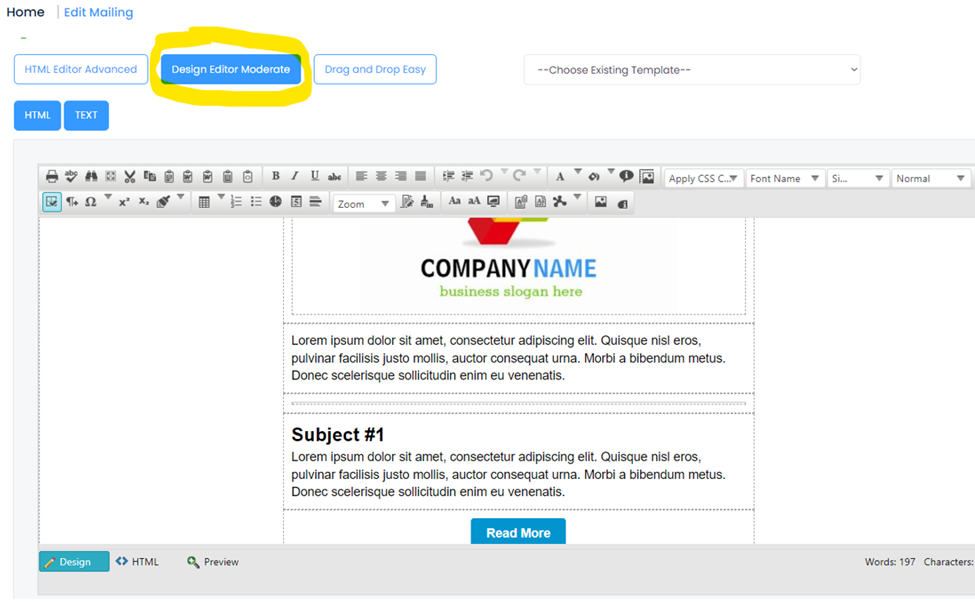 Design Editor Moderate Window C. Use the Drag and Drop EditorThe Drag and Drop Editor allows you to easily build your email message by dragging in components into your email message. See the screen below. Use assets such as logos or other images from your Image Library. 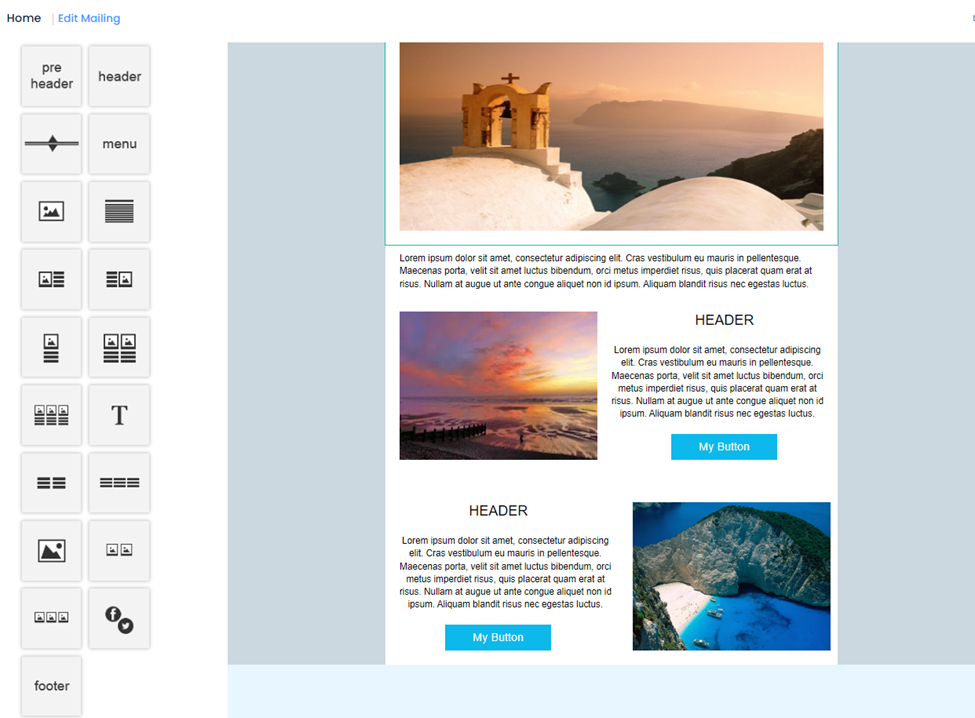 The Drag and Drop Editor Window D. Import Content from a FileYou can import any file from your desktop, computer, or network in order to create content for your mailing. Here’s how: Go to Content, then Templates
Then simply choose a web page, document, or other content to import directly into your new template. E. Paste in HTML Code Created Elsewhere (advanced)If you have created (or saved) HTML code in Adobe Dreamweaver, or an online source like Unlayer.com, you can easily use that HTML code for your email message. In NextMail, when creating a mailing, click on the HTML Editor Advanced, and paste your HTML code into the box below.
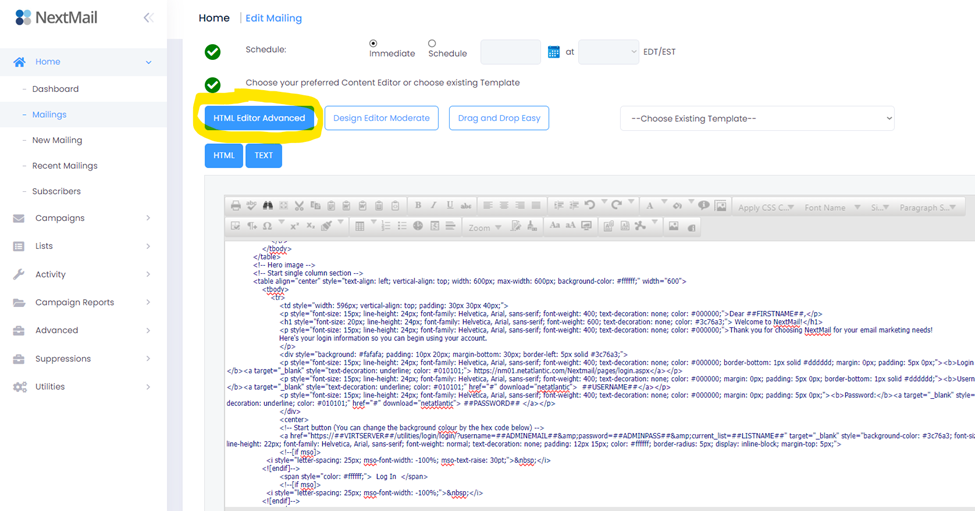 HTML Editor Advanced Window After you have pasted your HTML code, click “Preview” to preview your mailings. Make any adjustments that are needed. NextMail Preview Mailing Window 6) Creating a New MailingTo begin, under Mailings, click on “New Mailing”. Next, name your mailing, add a description (optional), and assign the new mailing to a campaign (optional). Use the Campaign designation if you have one or more mailings of a similar nature to group together. Click “Save”. 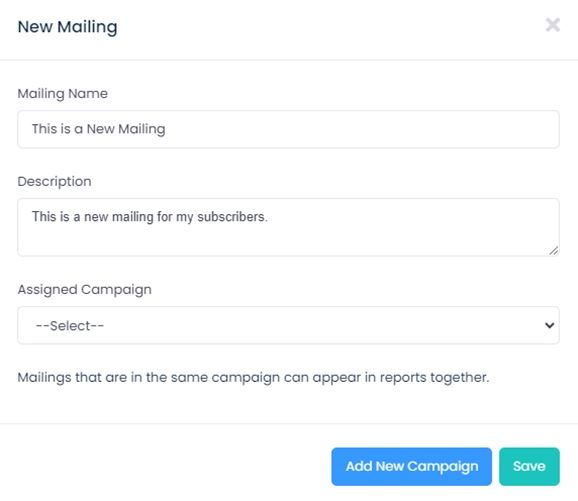 New Mailing Popup Window When all the red X icons have change to green checkmark icons, your mailing is ready to send. 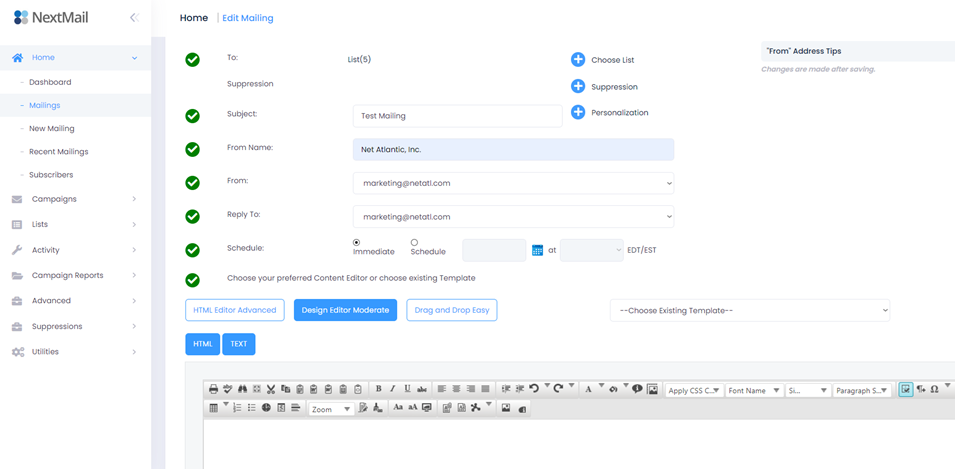 Create New Mailing Window For more resources visit https://www.NextMail.email/support |